Changing the name/binding of your site
One common scenario when developing an Episerver site is to use an internal host header while developing, and then changing that host to the official DNS name upon release. This section aims to explain what configuration changes you need to make to ensure that ImageVault works properly after changing the Episerver site name.
Since the site name is used in several places in the various configurations you will need to make some adjustments to the .config-files described below:
Change Episerver site name
This section does not cover the Episerver specific action that needs to be done to change the site name/URL of the Episerver site. Please refer to the Episerver documentation on how to do that.
Changes to ImageVault UI configuration files
Imagevault.client.config
If the appSettings key defaultMediaUrlBase contains an absolute URL, please change it to a relative URI (i.e. '/ImageVault').
Changes to ImageVault Episerver site config files
Imagevault.client.config
If the appSettings key defaultMediaUrlBase contains an absolute URL, please change it to a relative URI (i.e. '/ImageVault').
Database modifications
Rename publishing source in ImageVault database
Note
only perform the below actions if you have changed the Episerver site name as a part of this process!
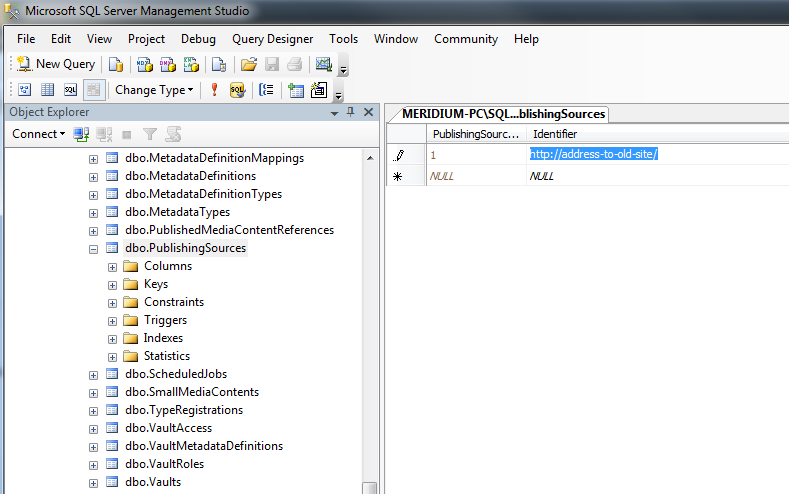
To avoid future references to the old site URL in ImageVault you should also rename the publishing source in the ImageVault database:
- Start SQL Server management studio and navigate to the relevant ImageVault database instance.
- Find the database table PublishingSources.
- Modify the row that contains the old site URL by changing it to the new site URL.
Note
do not delete or insert rows here - only modify the existing row, otherwise you will break the ImageVault install!_
After modification, do verify that the url is correctly terminated with a trailing slash, i.e 'http://yourdomain.com/'.

Note
After you've modified the database, please restart the ImageVault Web Service for the changes to take effect.